This is a very simplified explanation of how I created my 2ft Vase.
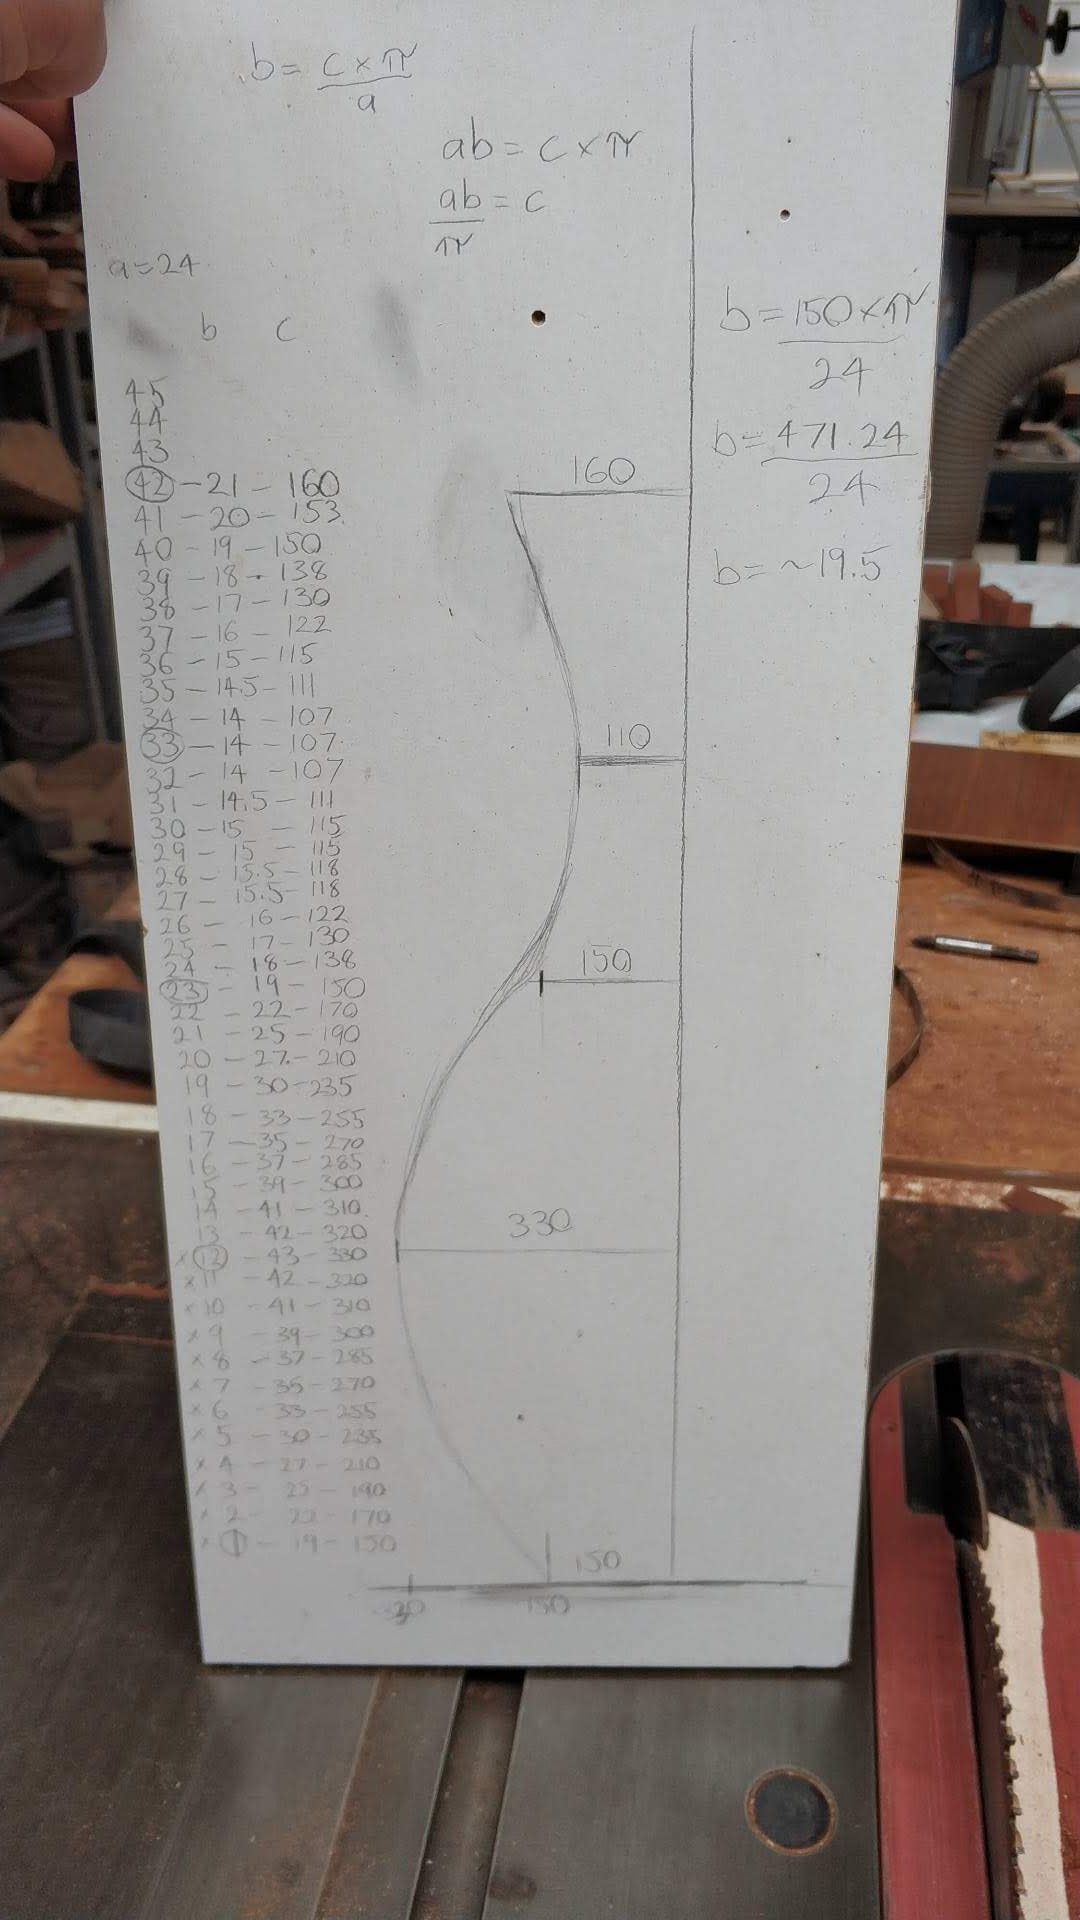
The first thing I always do when making a vase of this complexity is to draw up a scaled-down chart.
This way I can go through each layer individually to work out the exact length, width, thickness, and angle of each piece.
Basic knowledge of algebraic equations becomes very useful in this step.
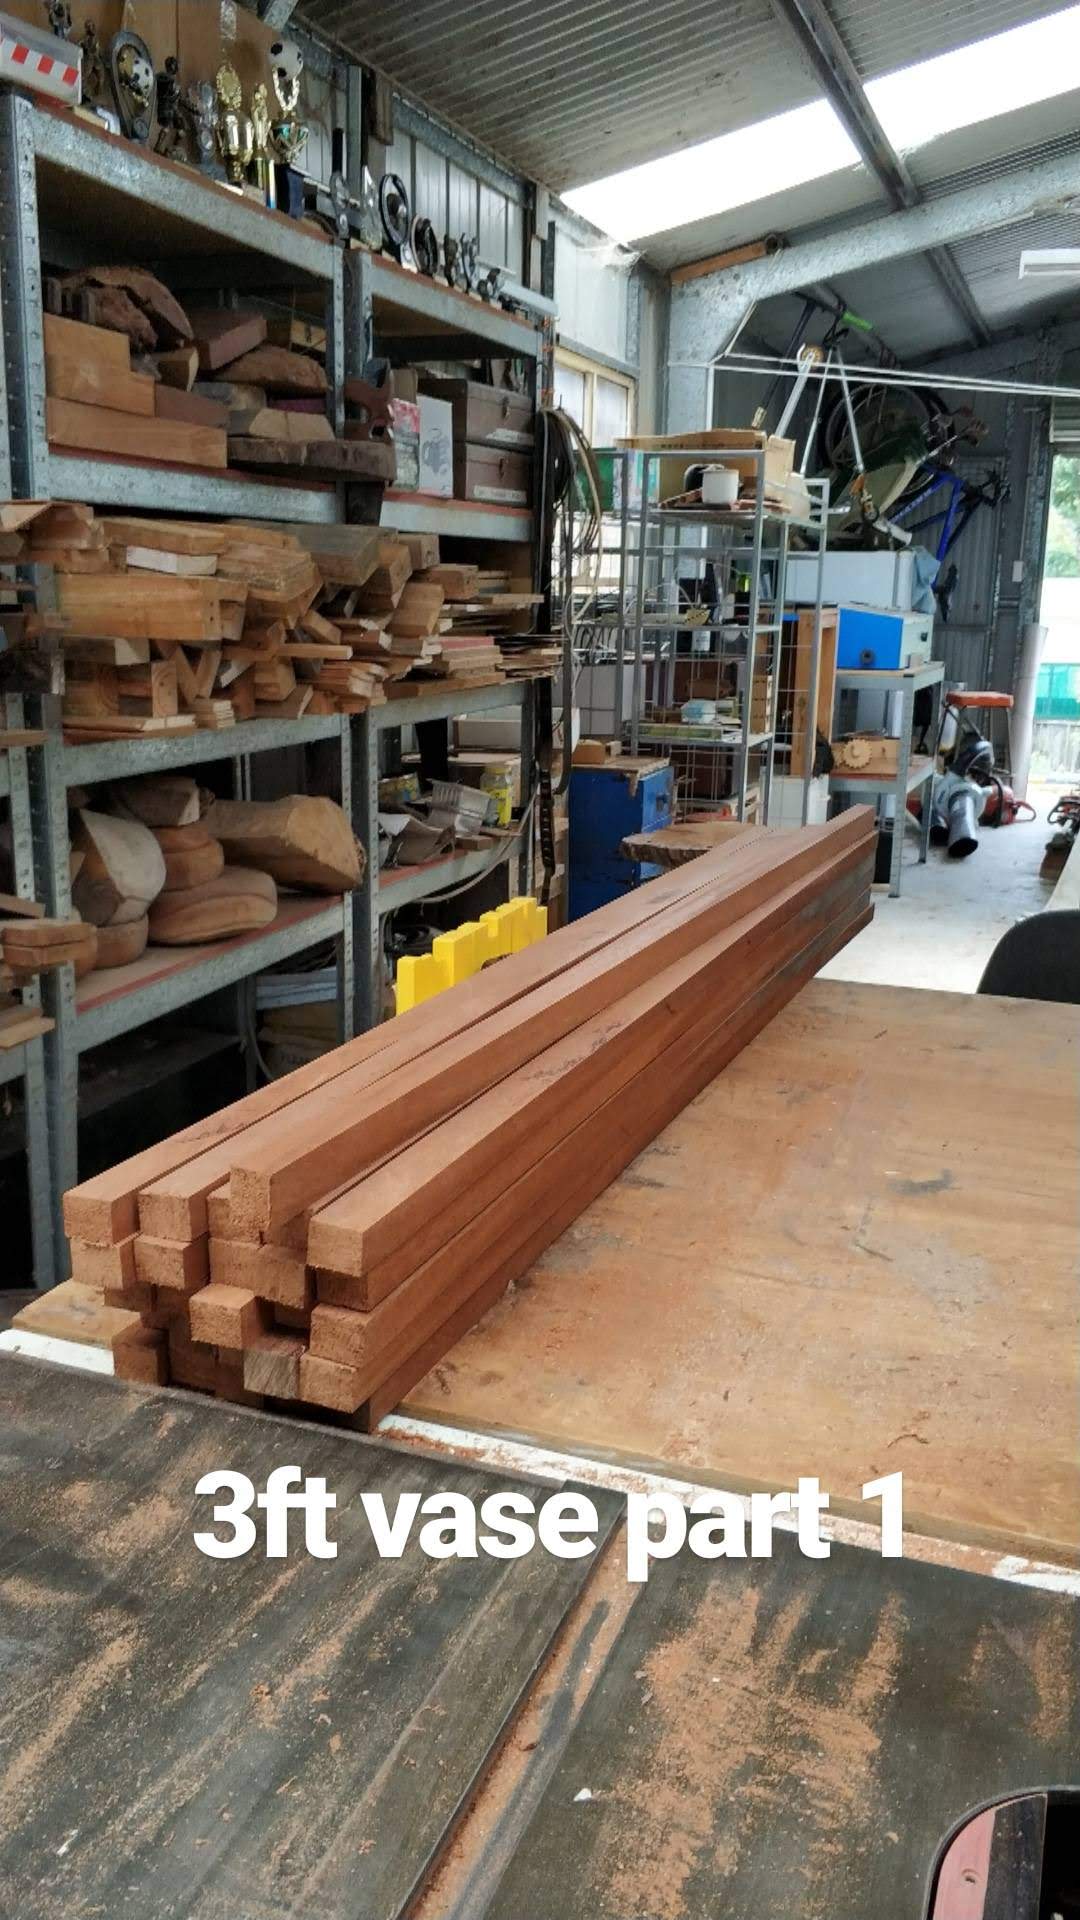
Next, I started milling up the Honduran Mahogany (red-coloured wood) and Camphor Laurel (white-coloured wood) into strips.
The next step was to cut the strips at a certain angle to create rings of 24 pieces each (my personal preference for ease of turning and alignment).
A full ring requires a total of 360 degrees. For a ring of 24 pieces, we divide 360 by 24, which gives us 15 degrees.
So each piece needs to be cut at 15 degrees, and since we cut both sides of each piece, we divide 15 by 2 to give us a 7.5-degree cut on each side.
This is the angle to set on the tablesaw.
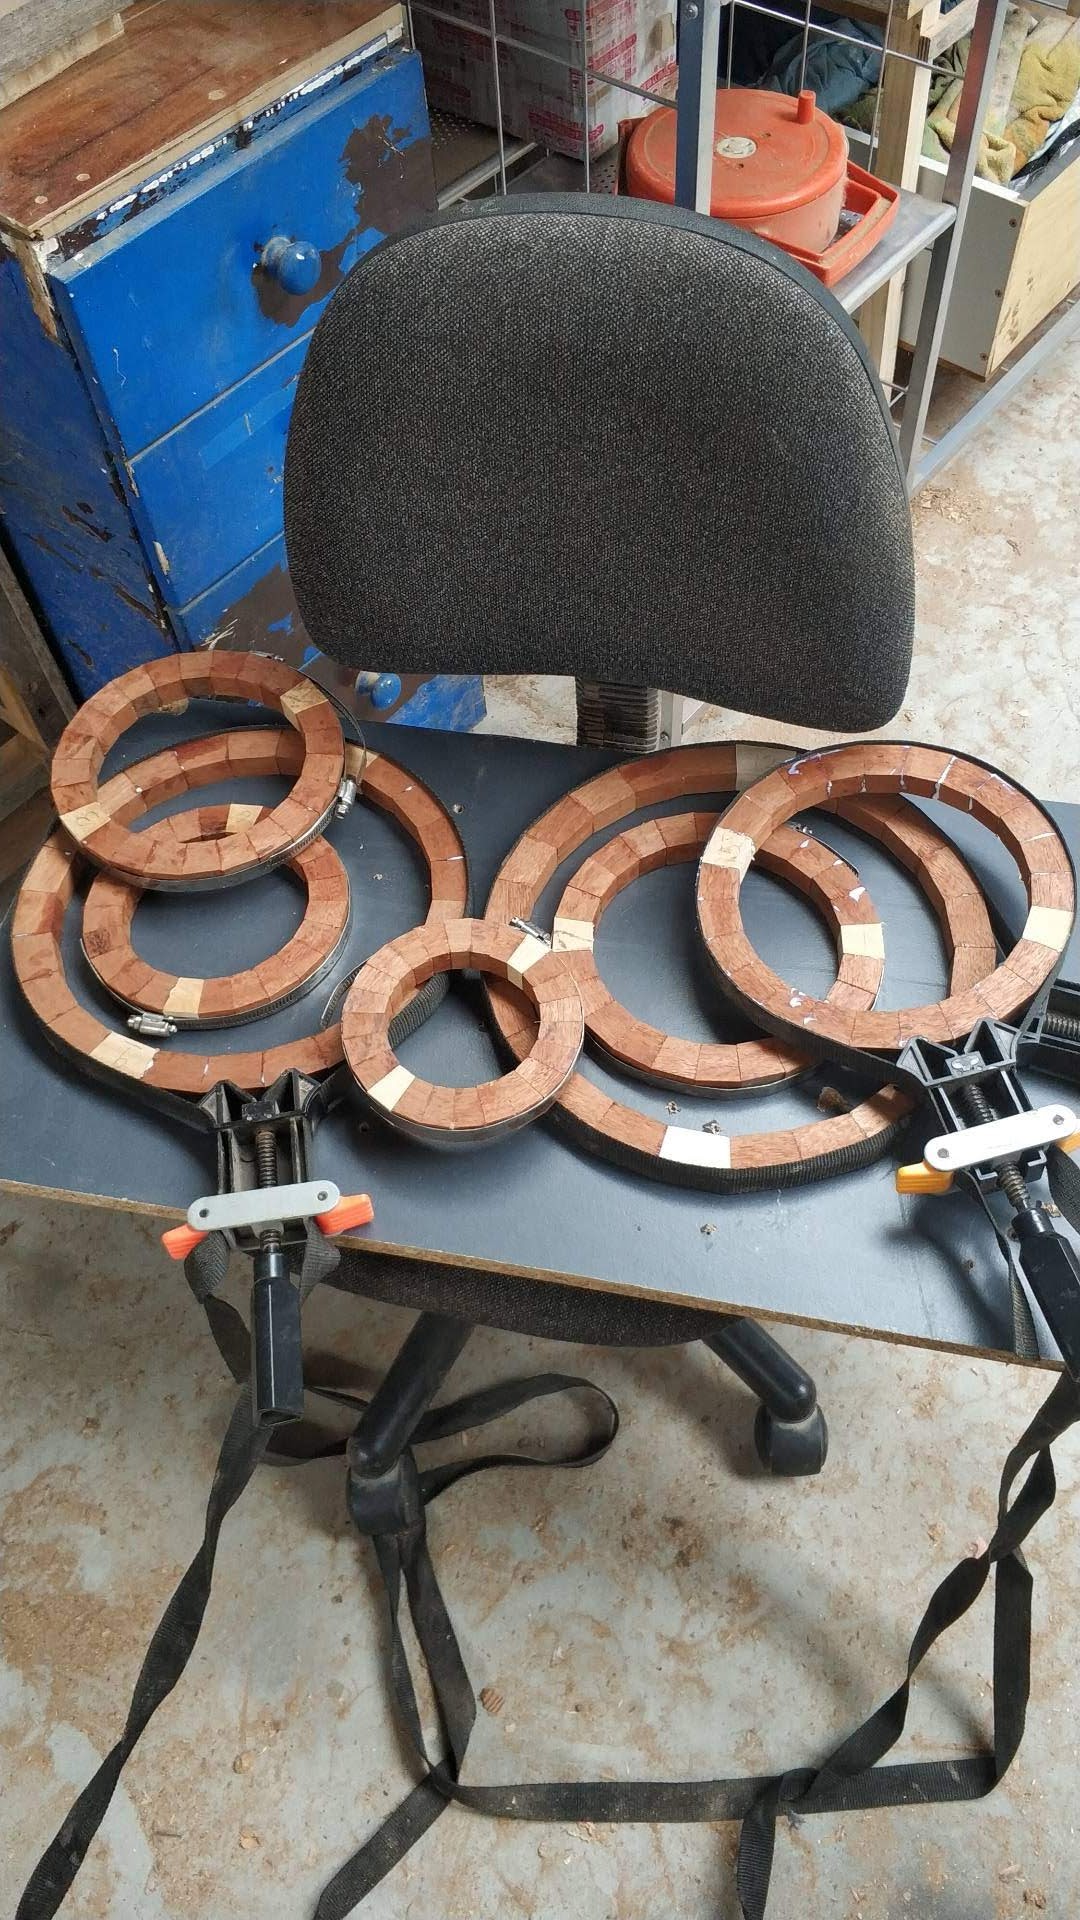
Hose clamps and rubber bands are the most efficient way of clamping up the individual rings while the glue dries.
I also like to stack the rings up as I go to track the progress. Note that although each ring is glued up, I have yet to glue any rings to each other yet.

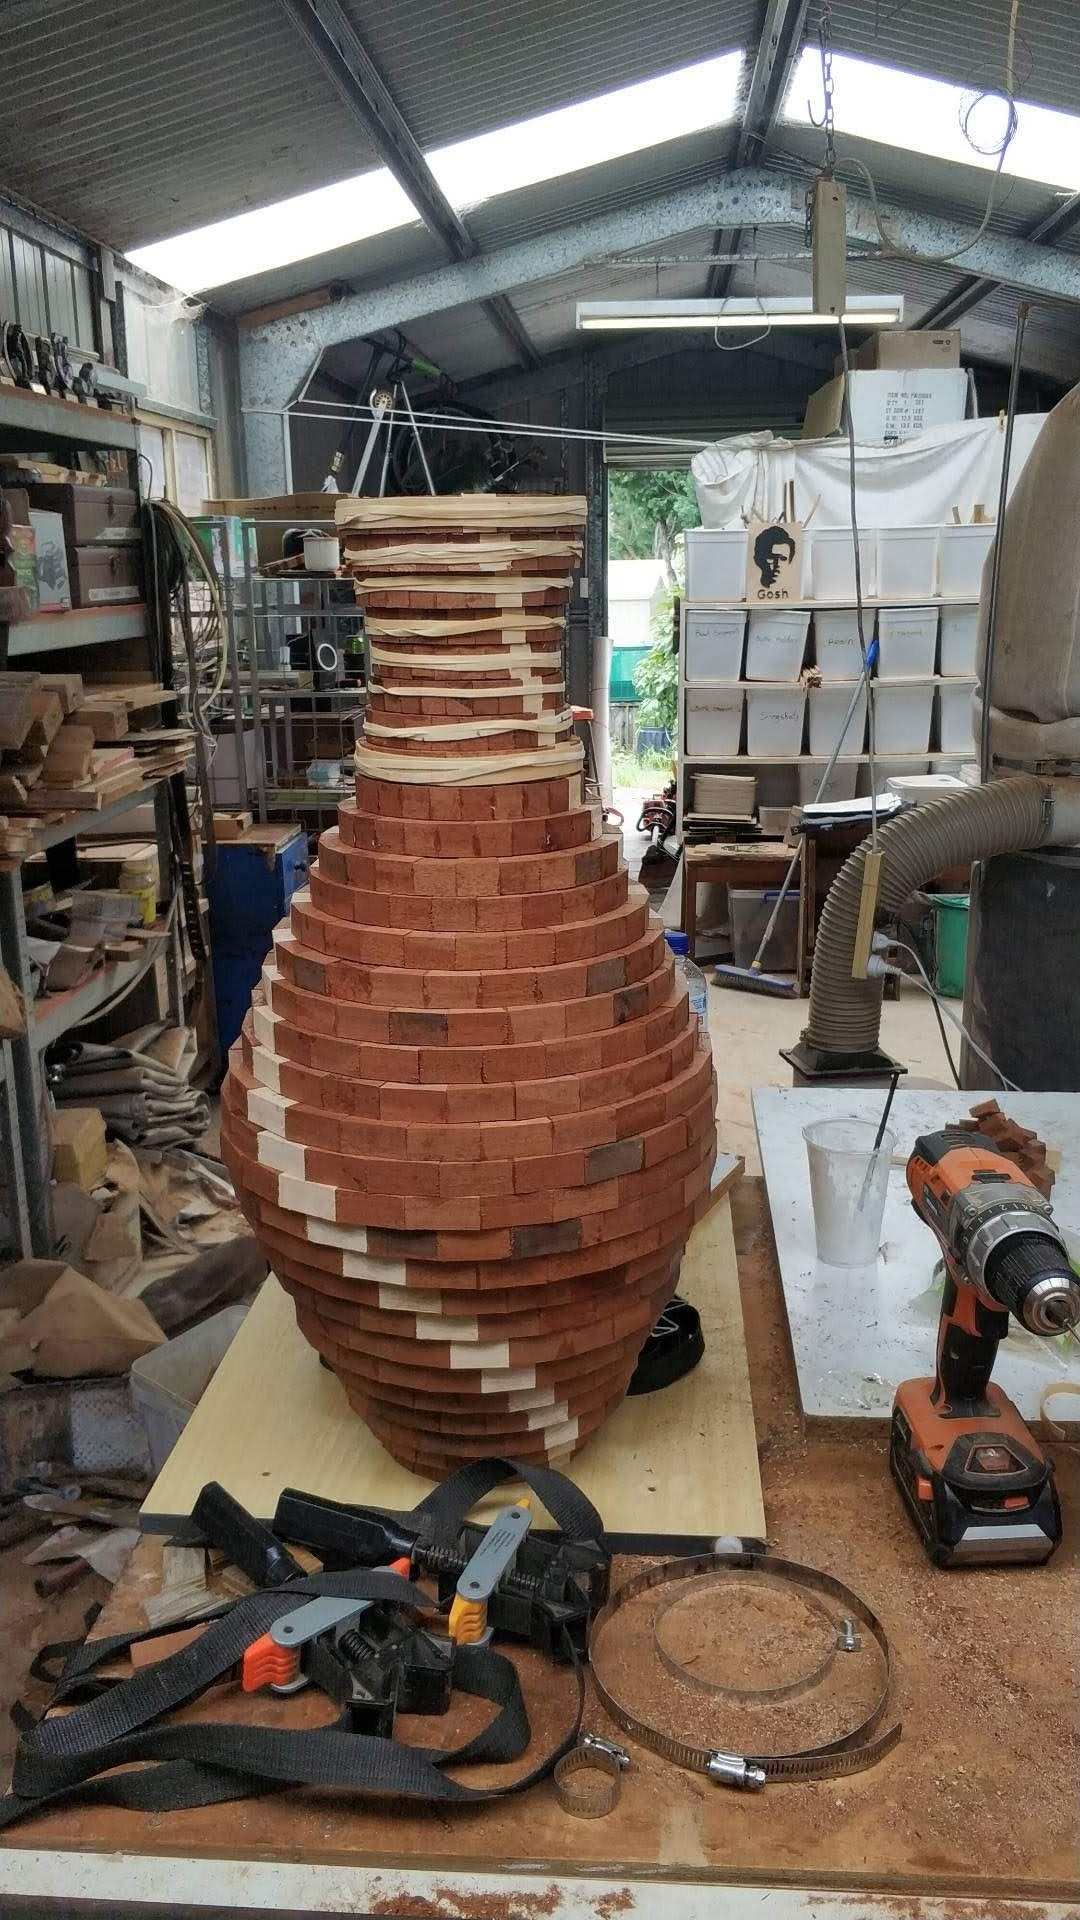
This image shows the use of rubber bands to hold some of the upper rings in place while the glue dries.
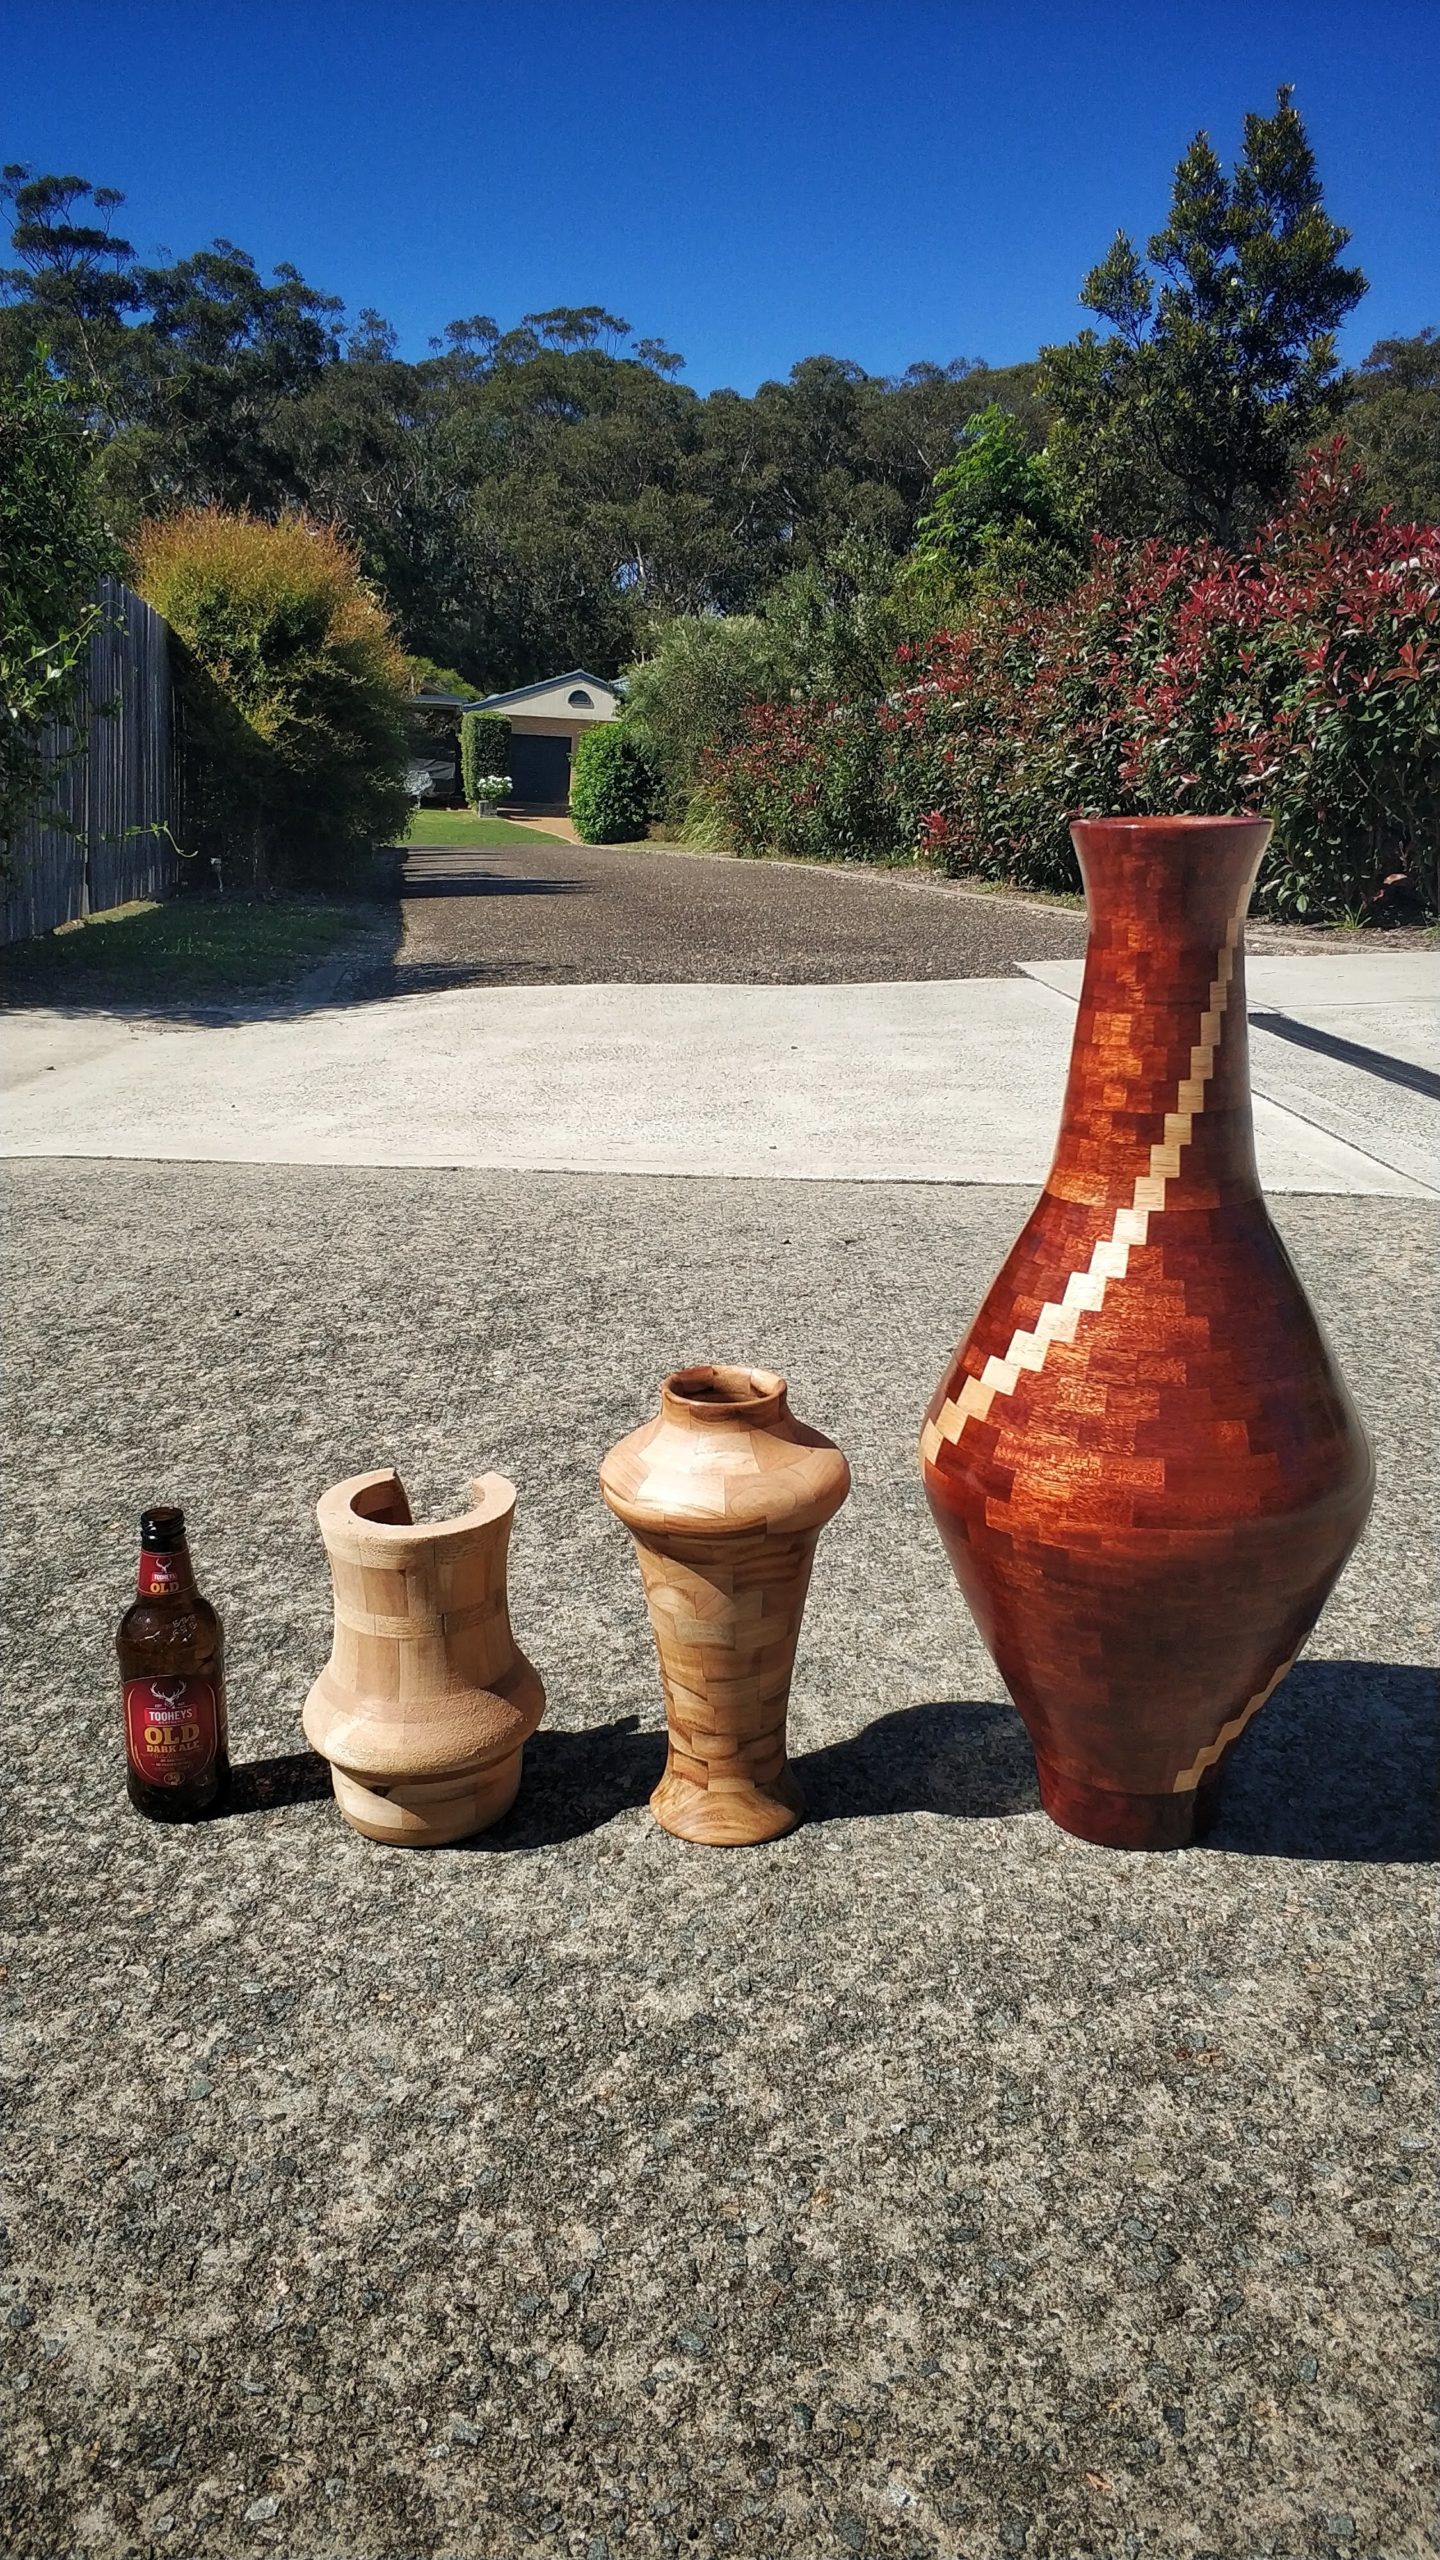
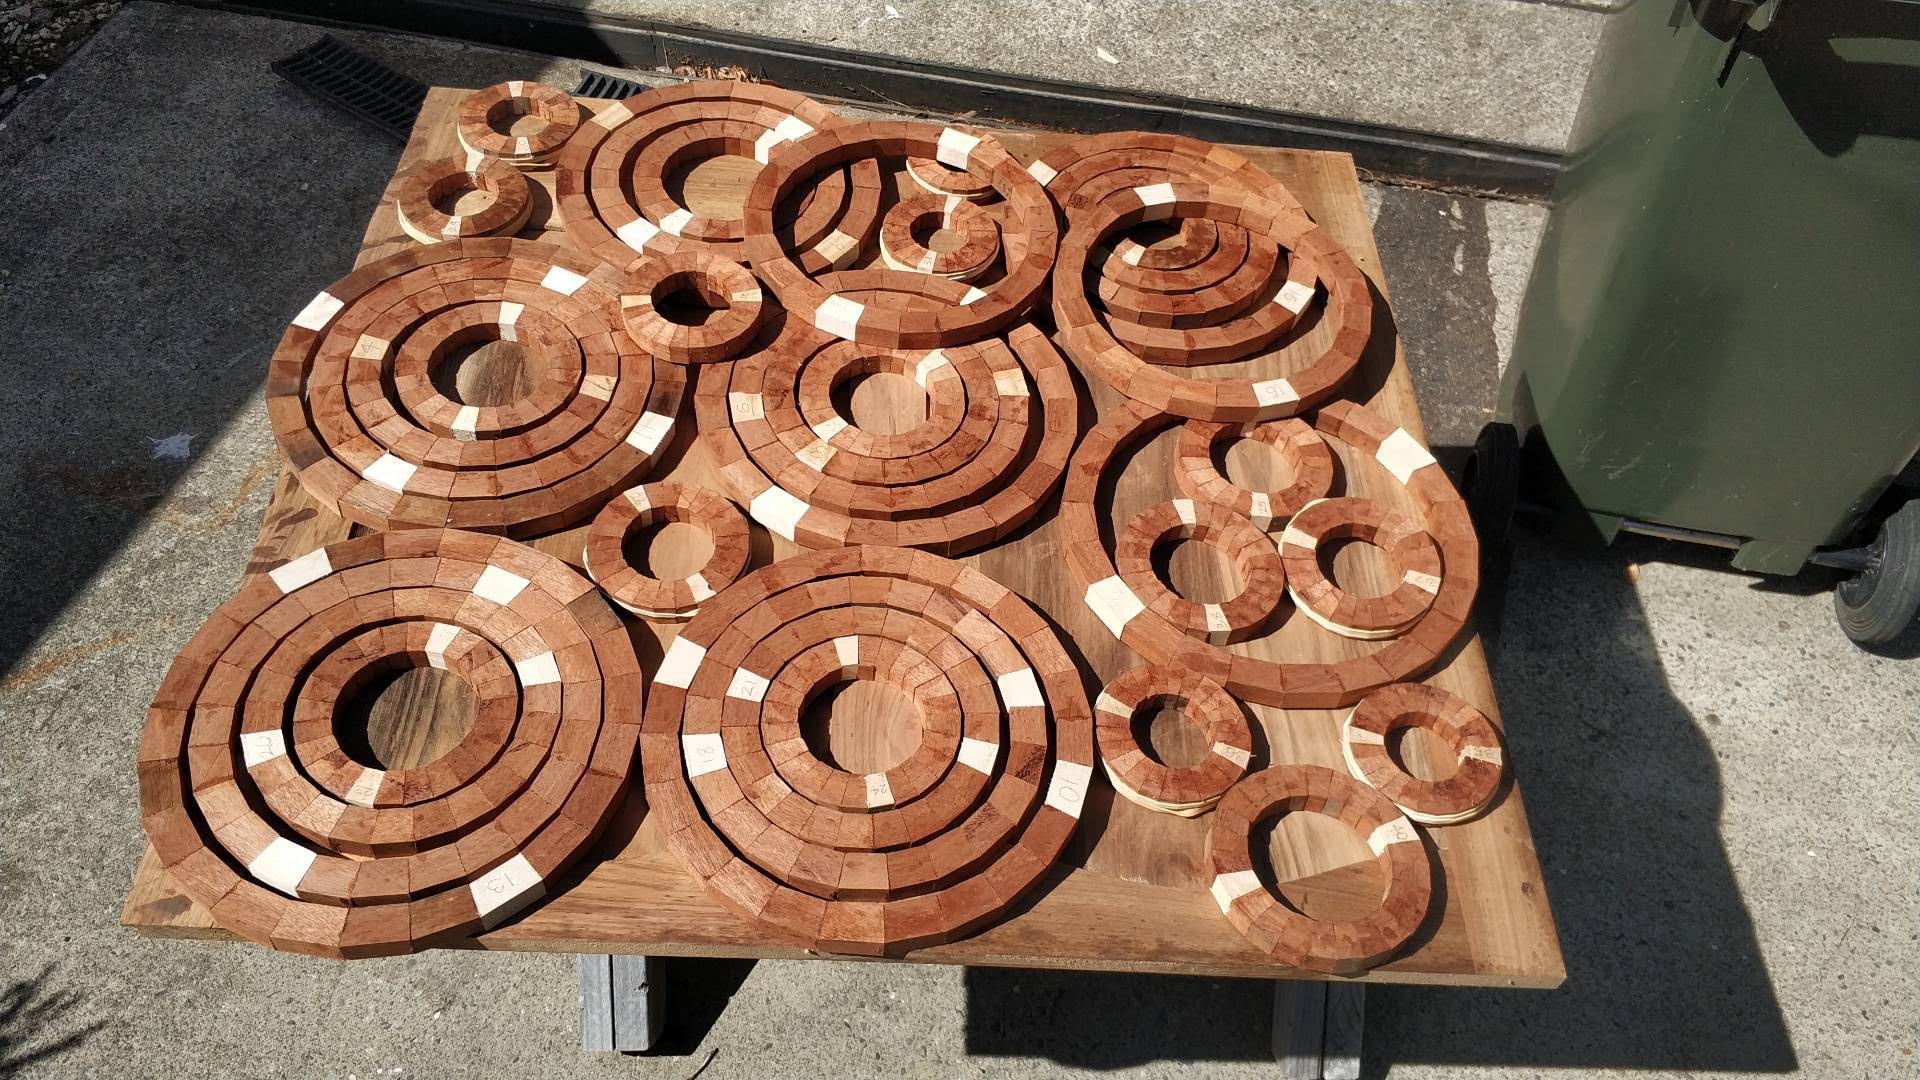
Here are all the rings glued up. This also shows the scale of the new vase next to a previous vase I had made a few years earlier.

I then pass all of the rings through the drum sander to bring them all to flat to ensure a complete glue bond and seam between all of the rings.
Gluing up the rings a couple at a time means I am able to turn the inside much easier than if I glued them all up together before mounting on the lathe.
This is a very long process but the results are worth the extra effort.
Very slowly but surely, the vase gets built up to the final size.
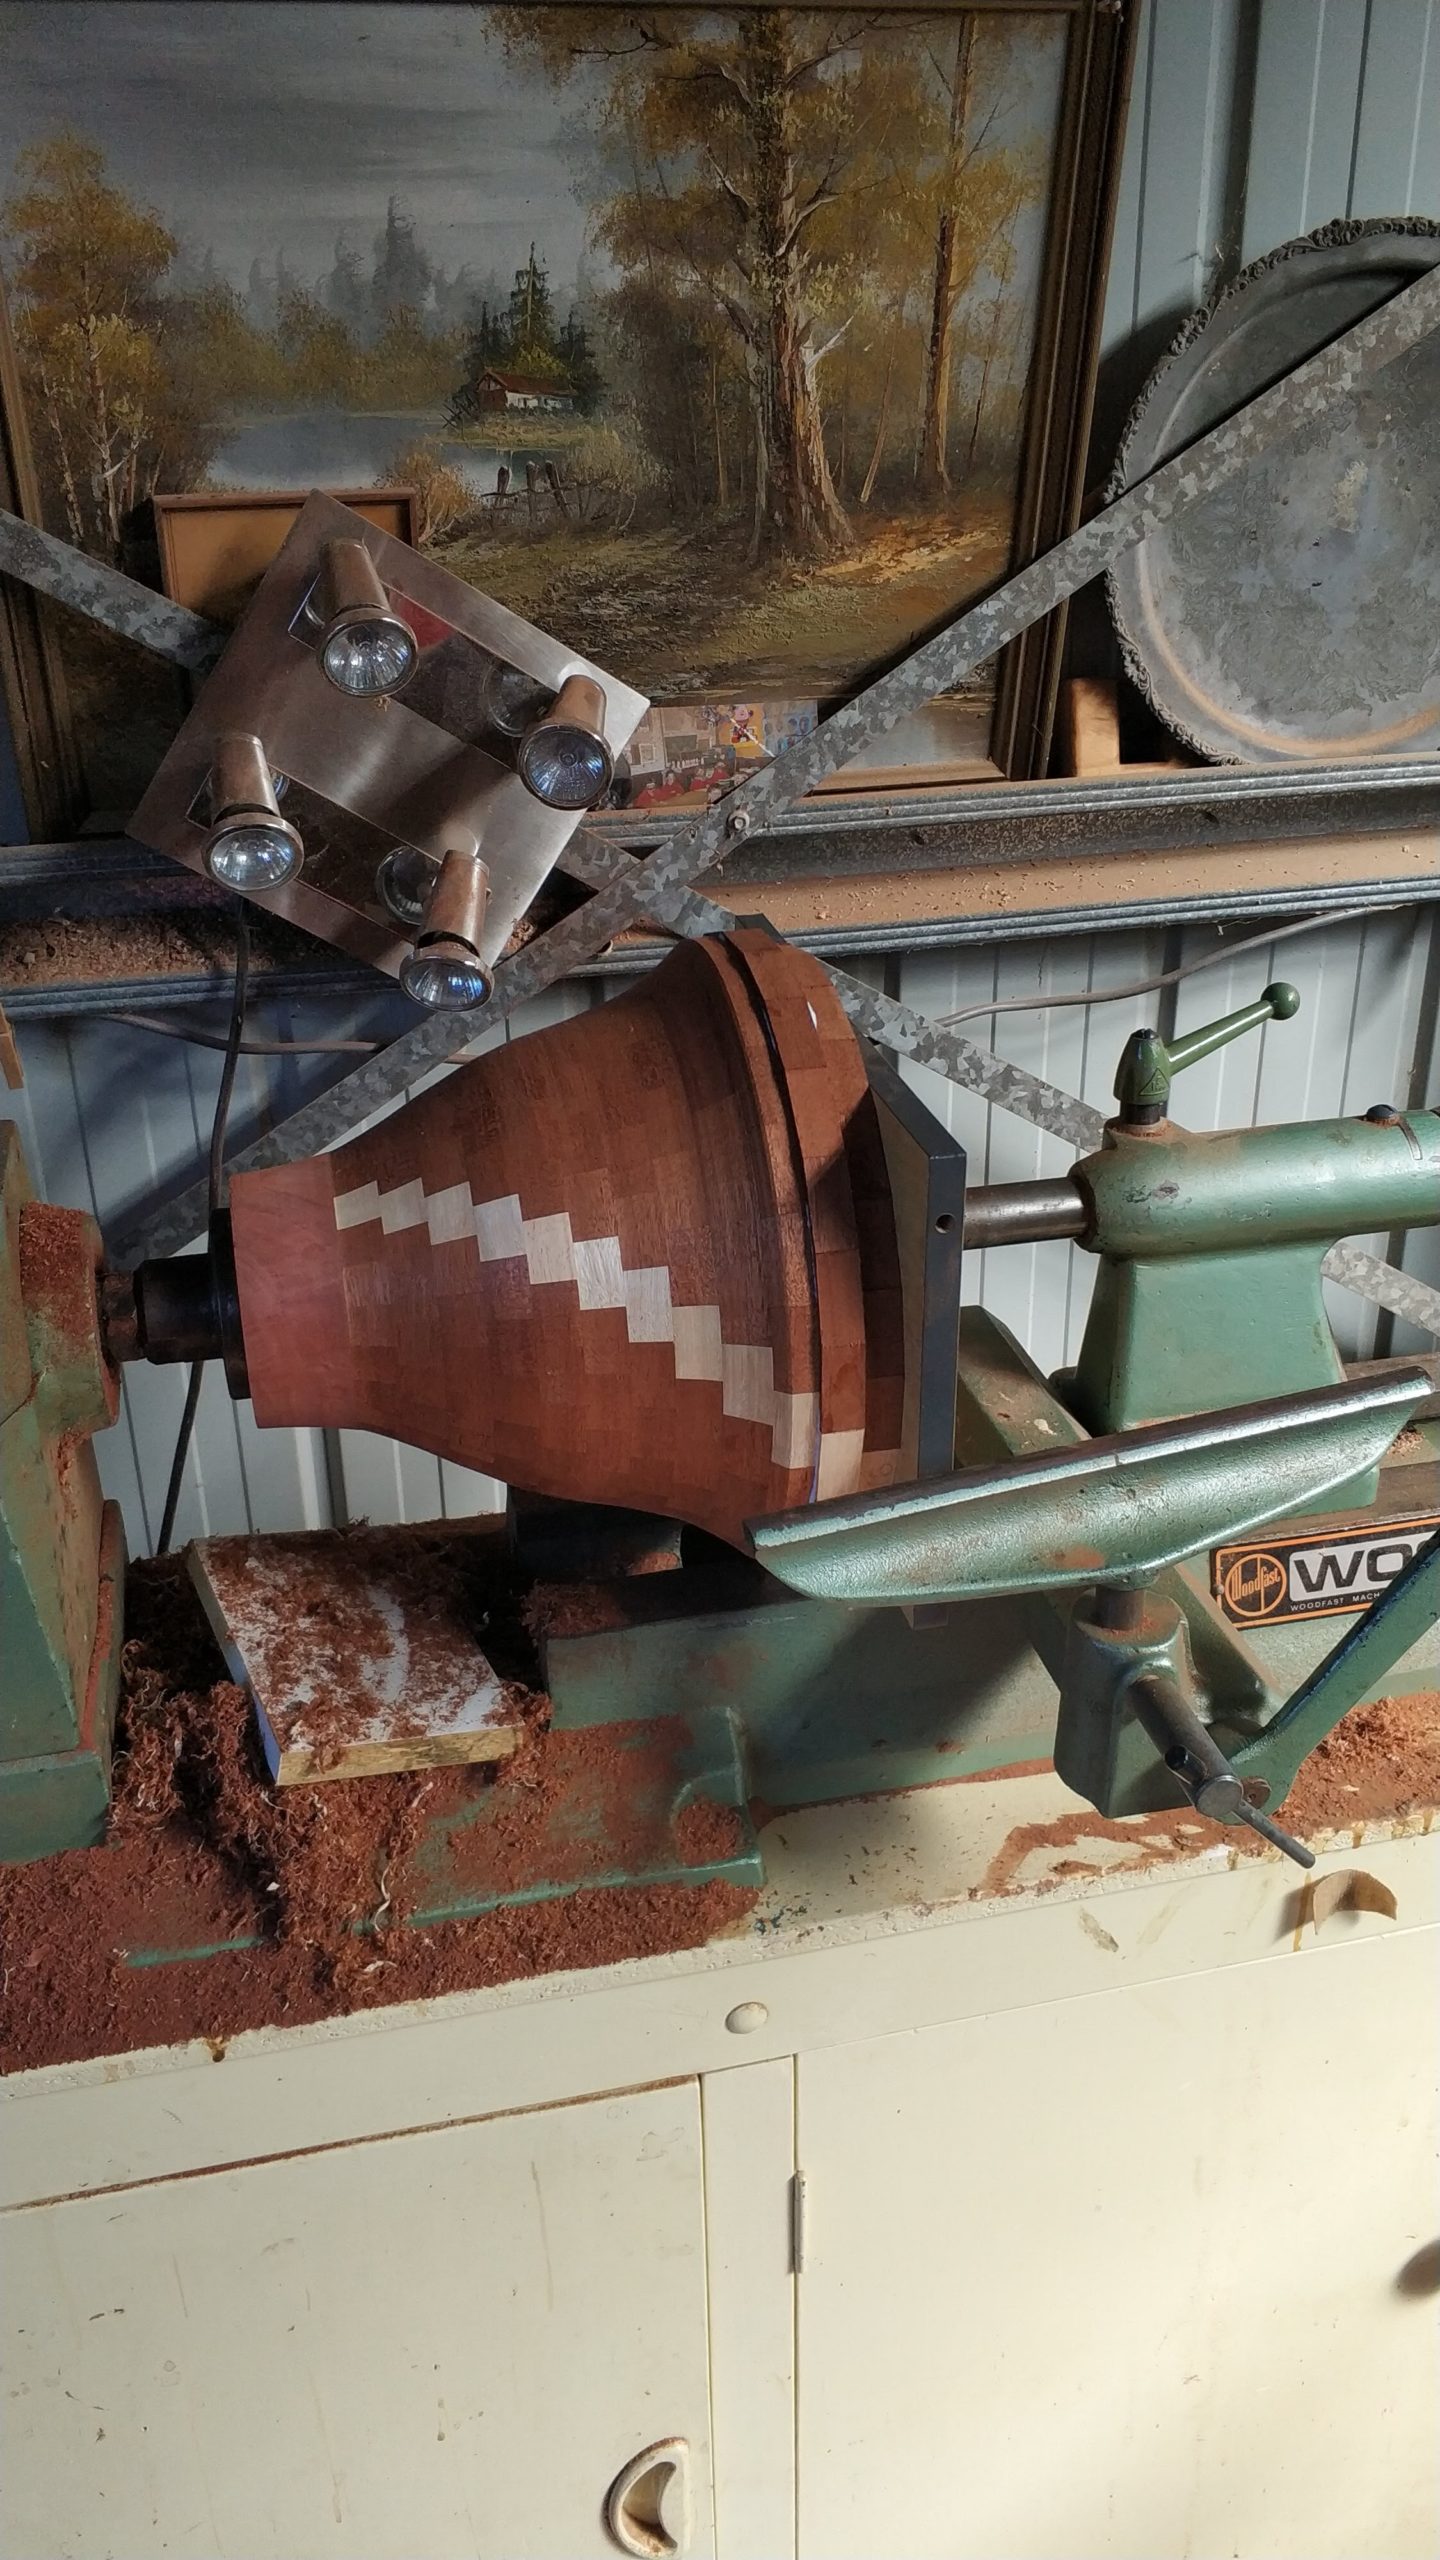
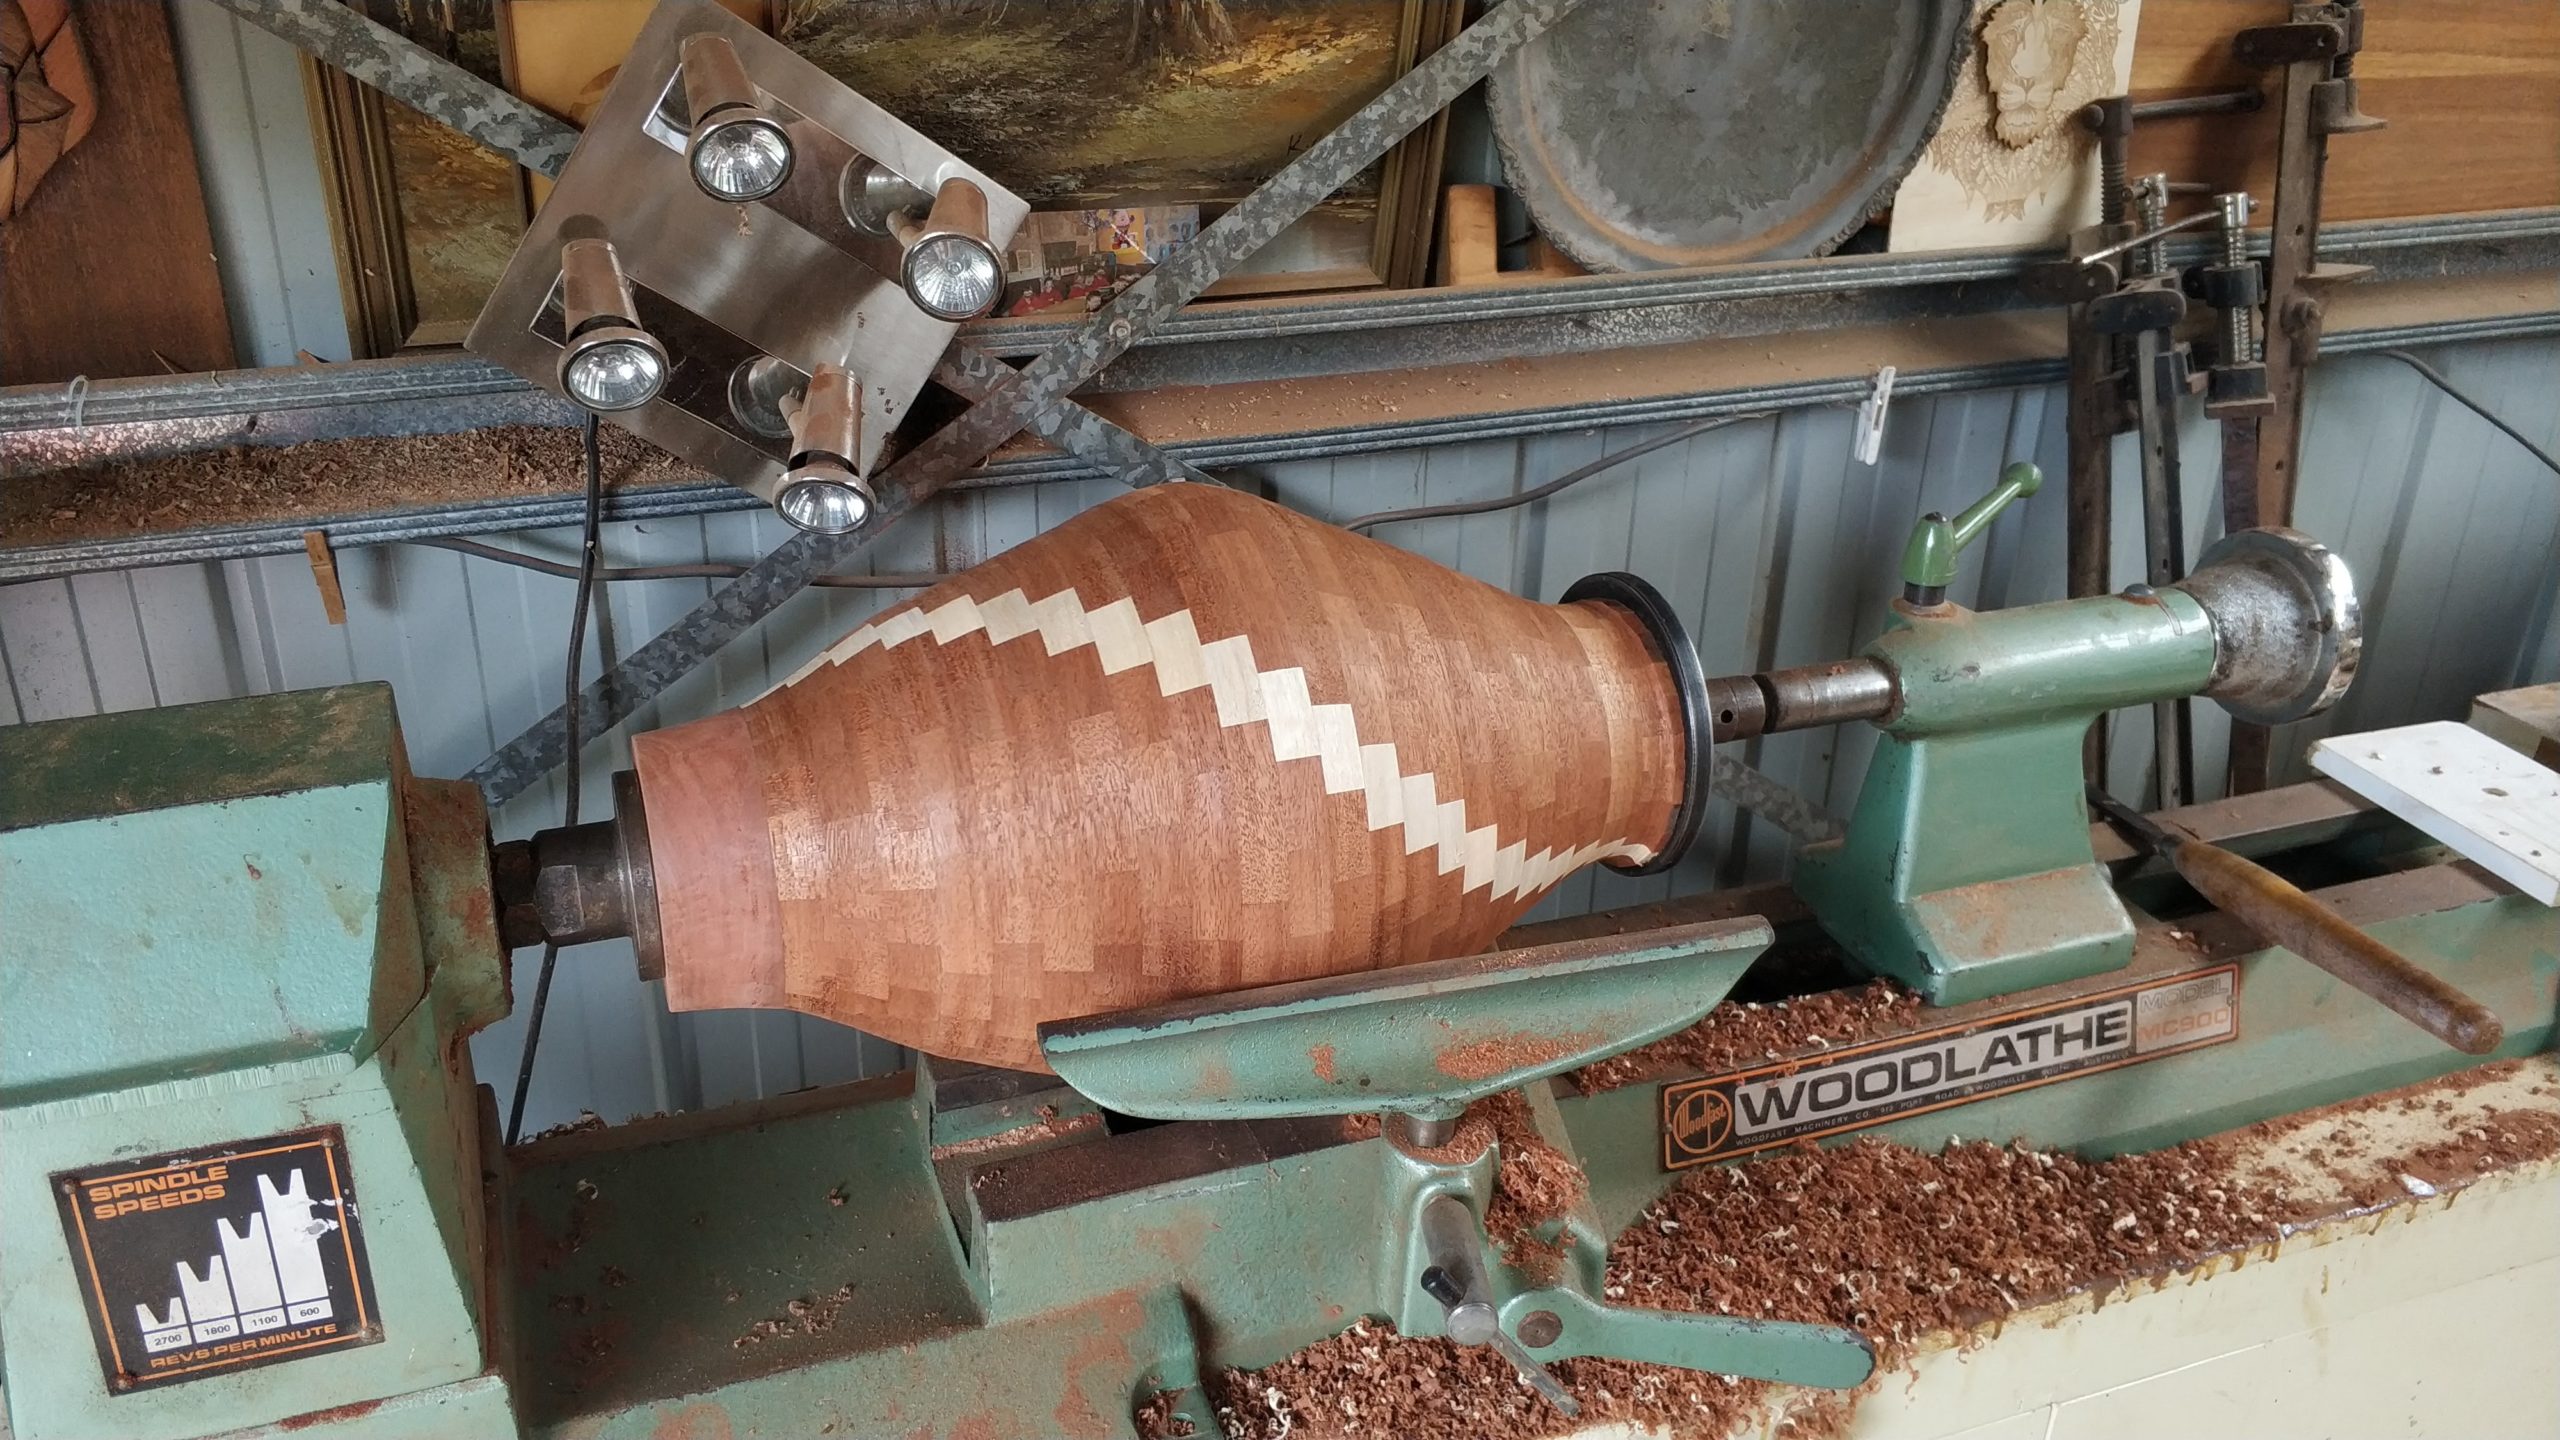
By the time the vase gets to this length, it becomes too heavy for the lathe to support its’entirety.
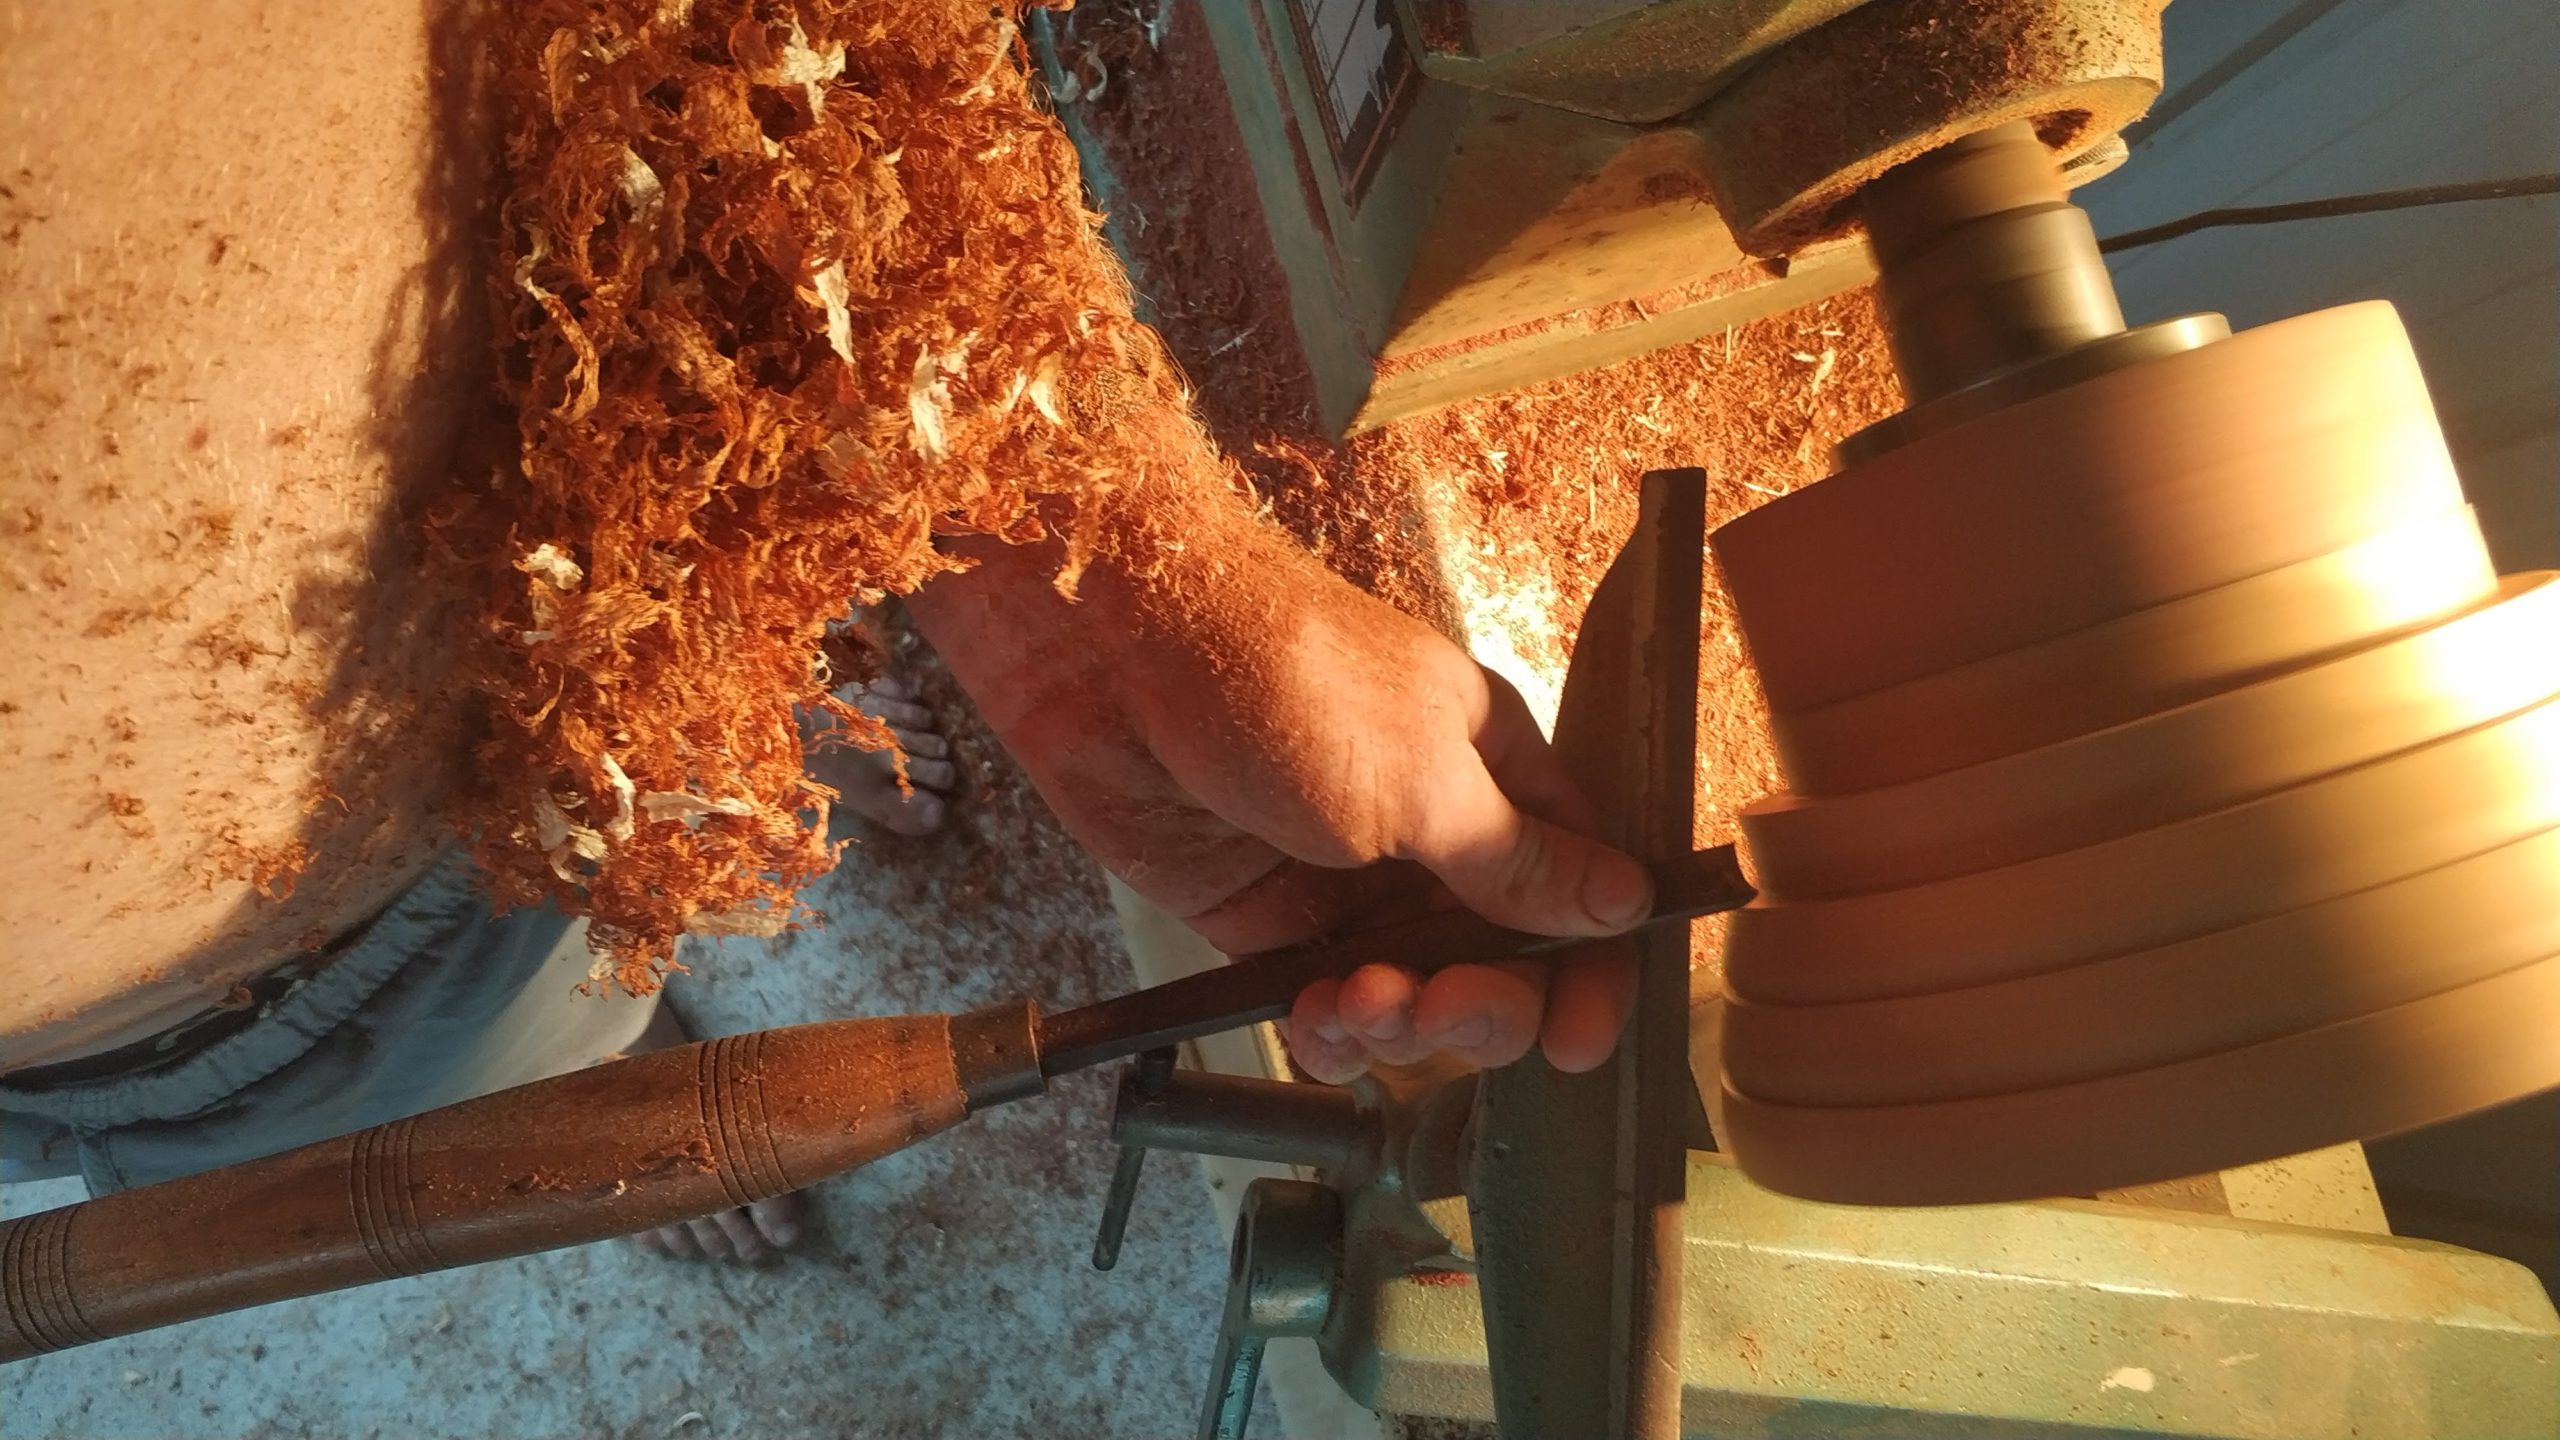
This image shows me using a “steady rest” which has 3 adjustable bearings used to support the top end so I can continue to turn and shape the vase without any vibrations.

Once all of the sanding is done, I can apply the first coat of finish. I apply the first coat whilst it is still mounted to the lathe.
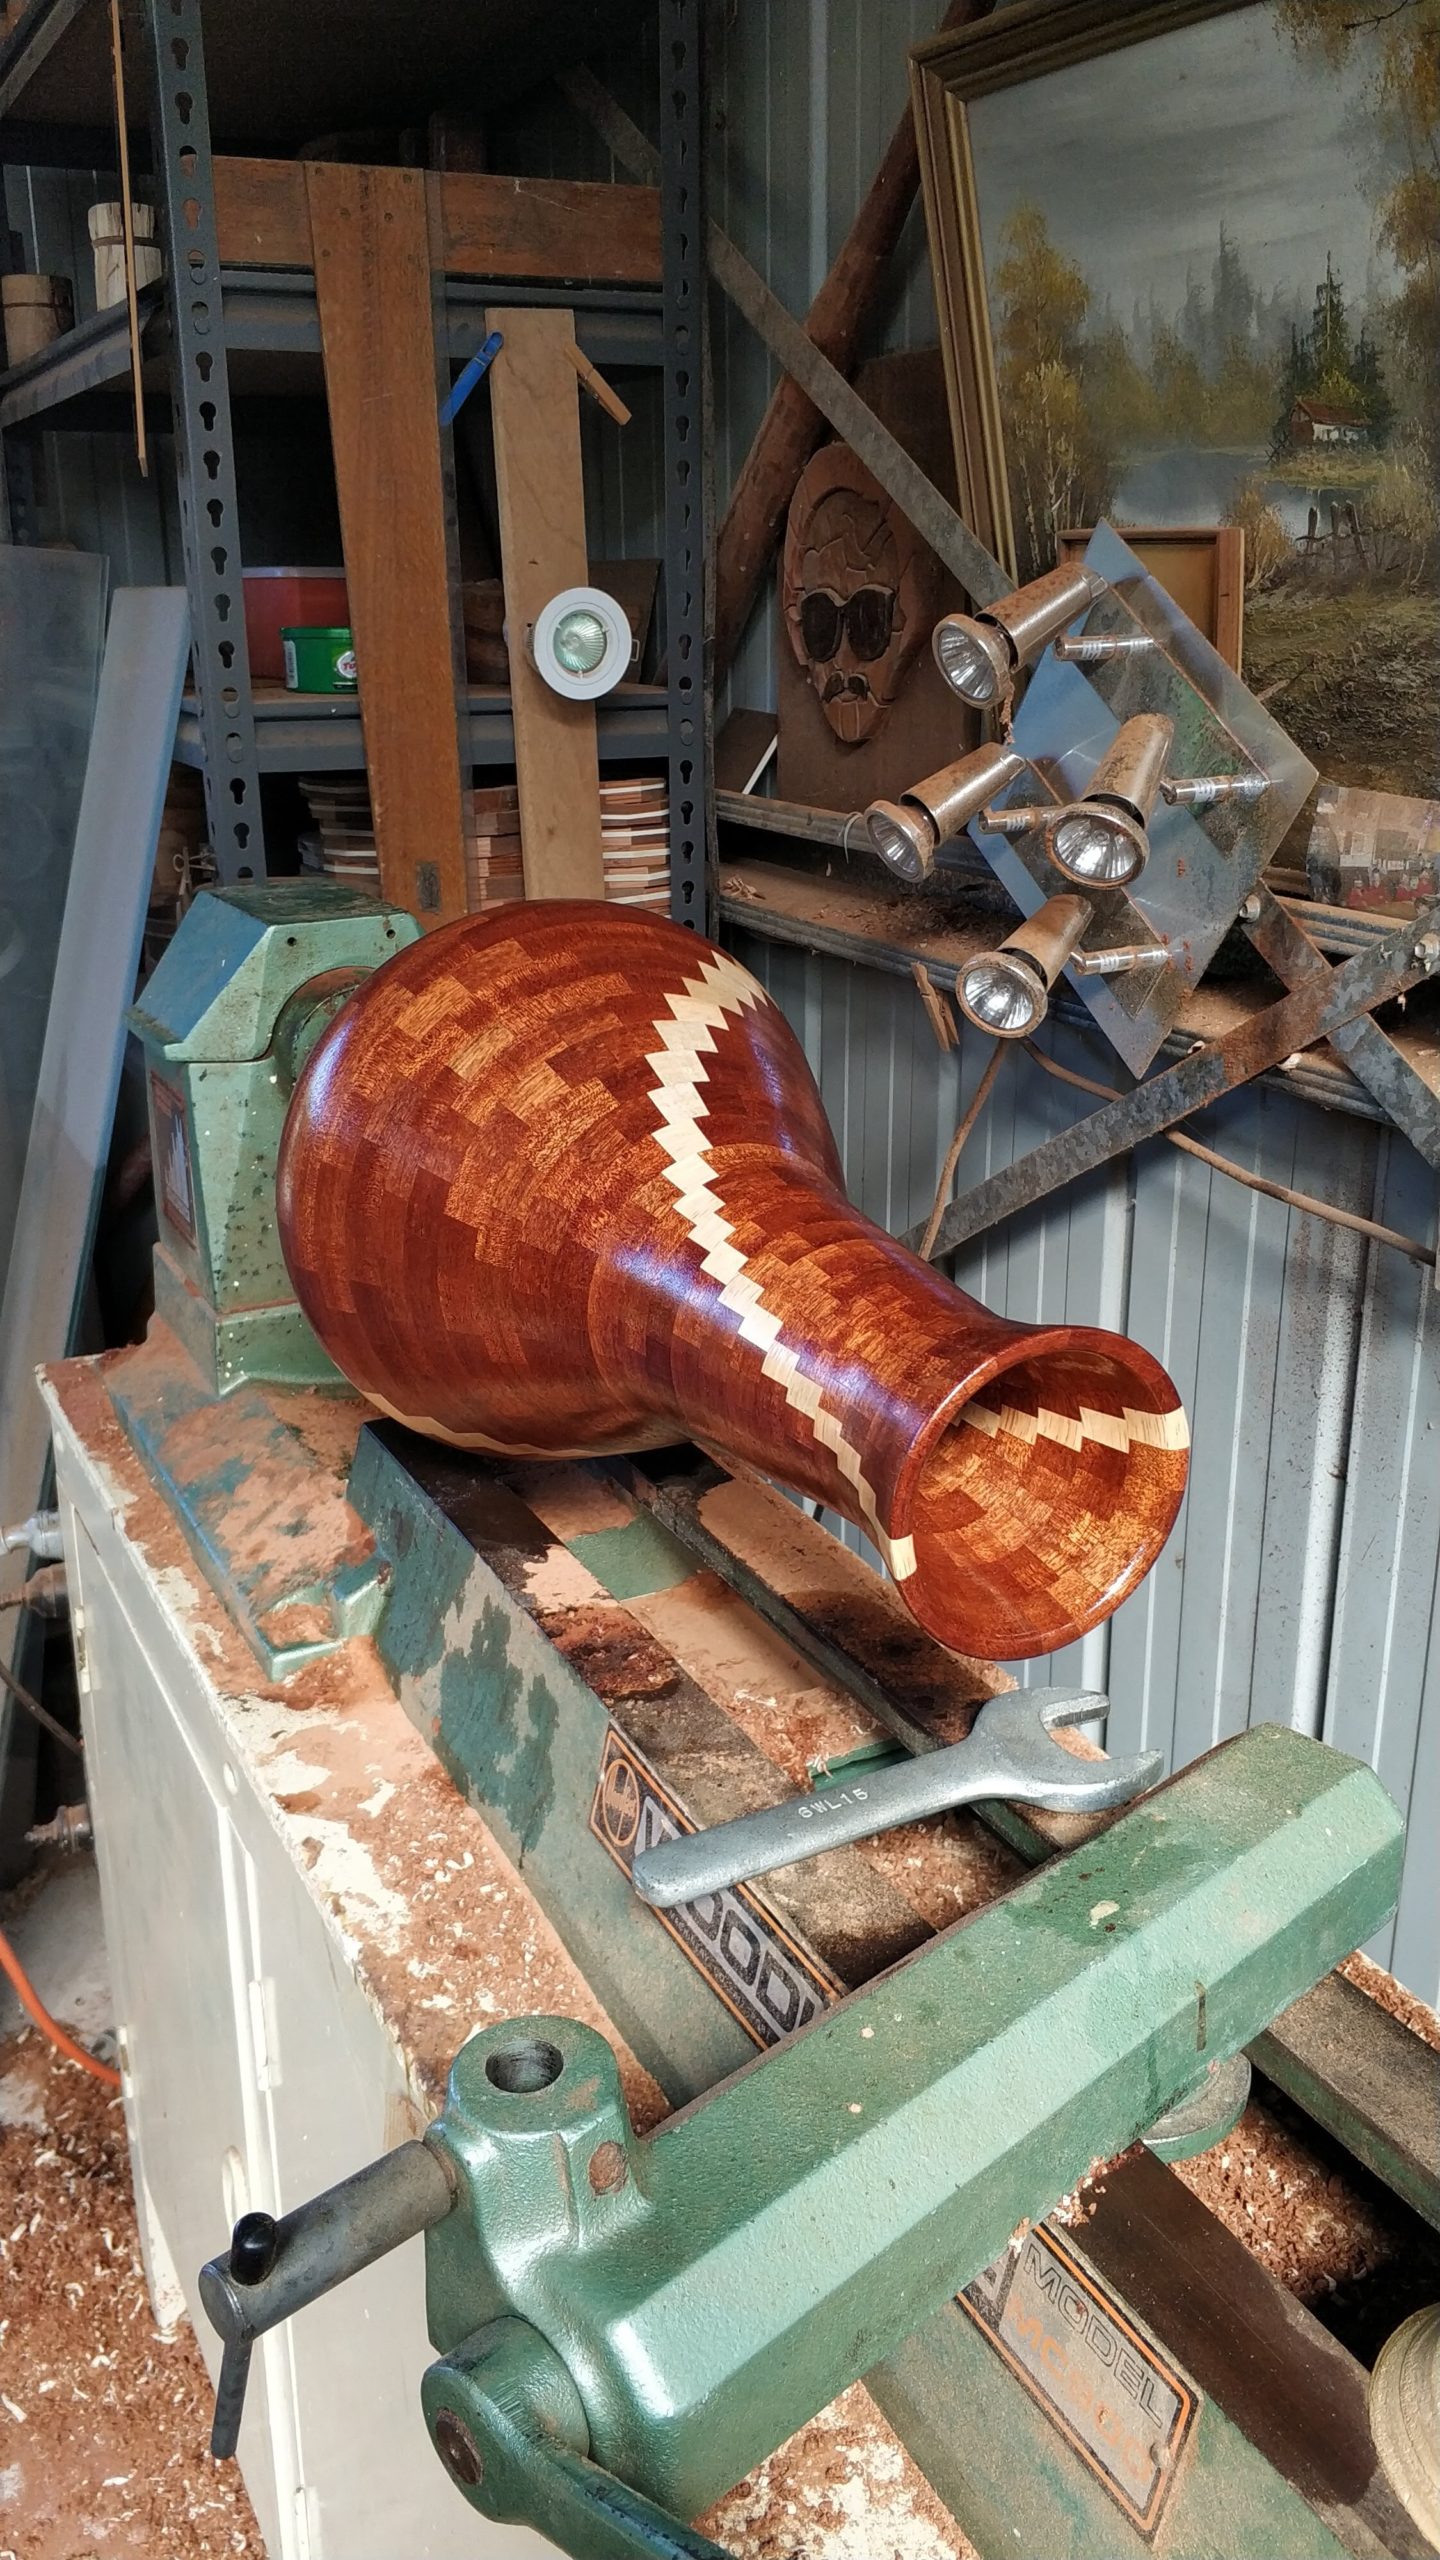
All of the next several coats are applied outside on a DIY stand to prevent any dust from the workshop settling on the finish.

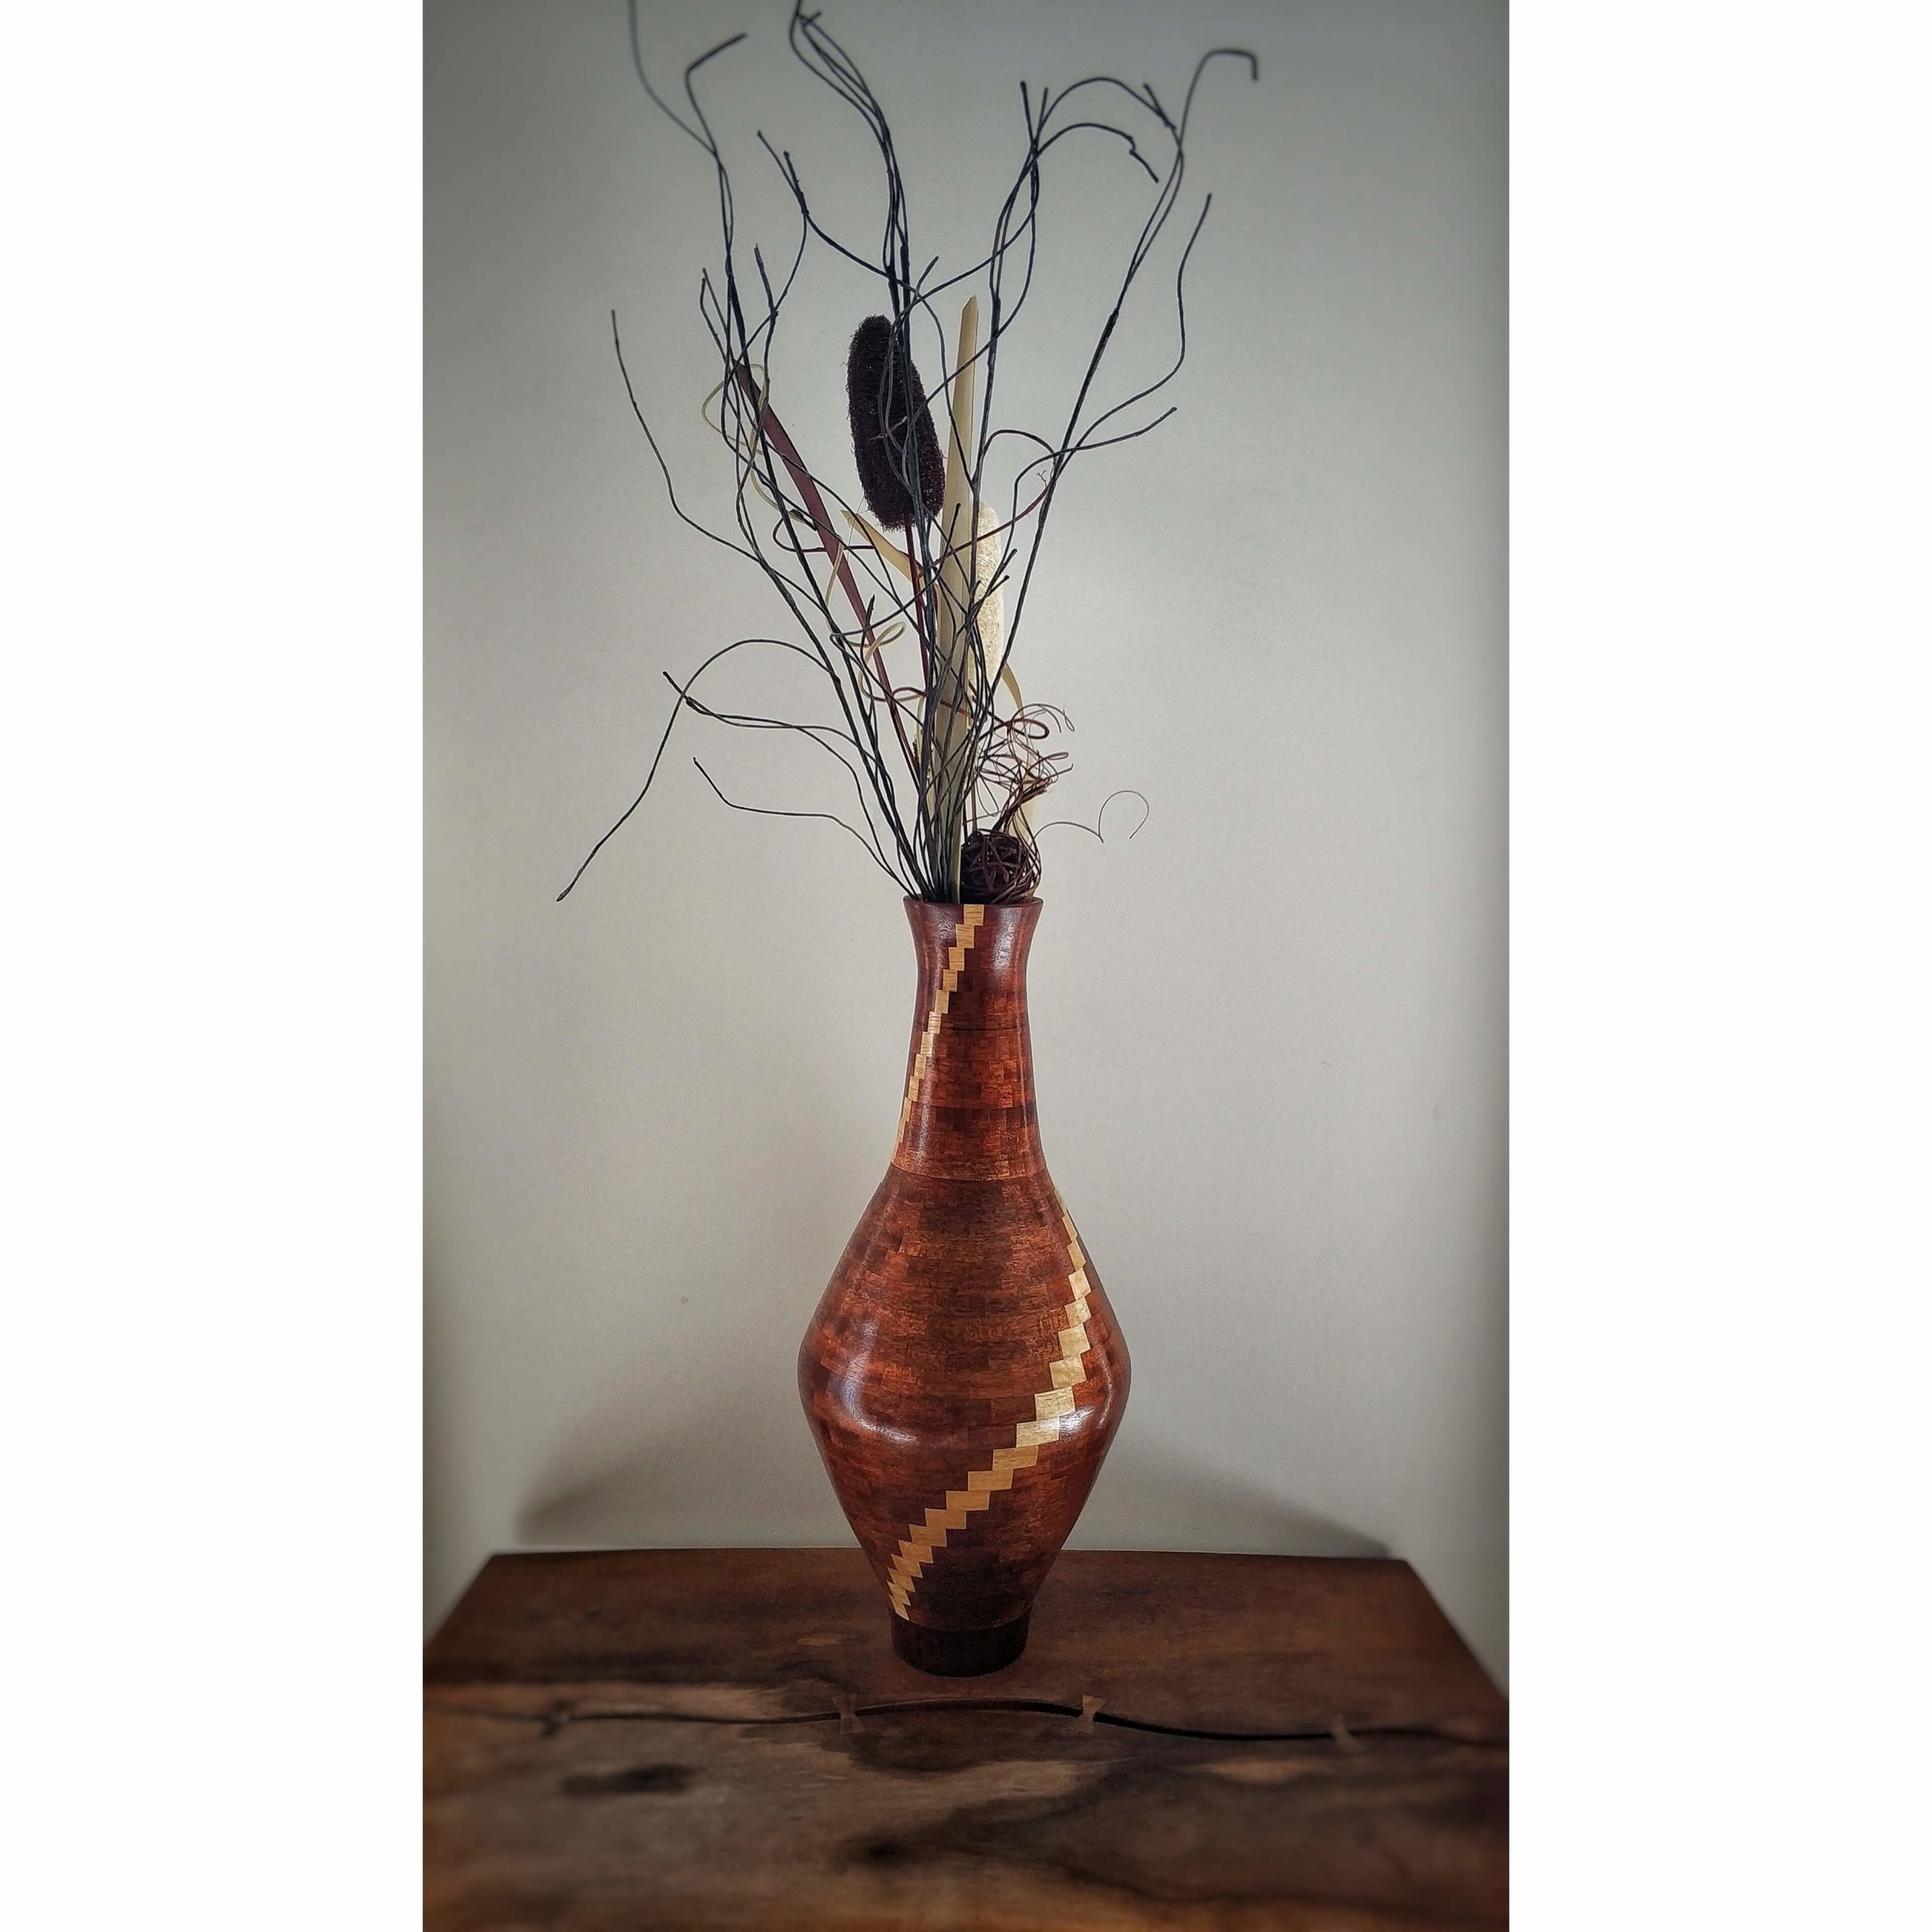
The finished vase.